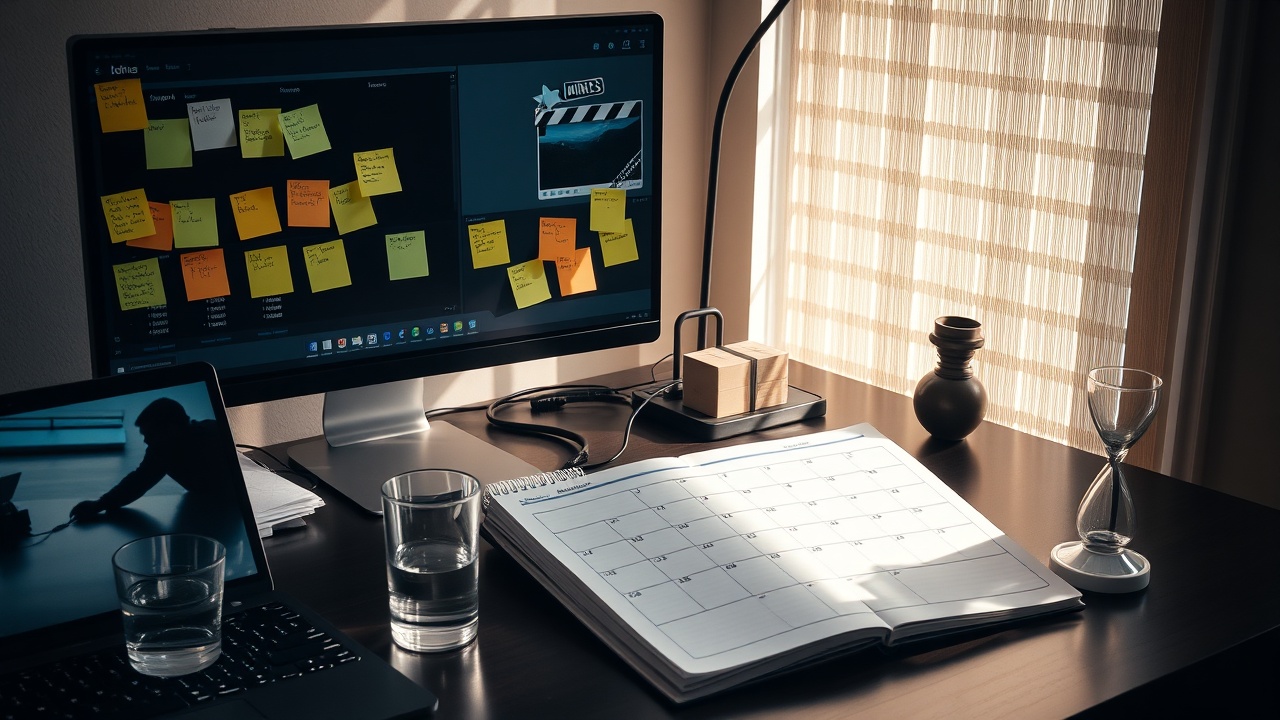
Step 1: Plan your content calendar before you open the editor
Before touching a clip, open your calendar for the coming month. Identify the themes: are you focusing on morning flows, evening wind-downs, or nutrition? Assign a specific "mood" or color palette to each week. This pre-planning prevents the common pitfall of staring at a blank screen wondering what to shoot next.
Step 2: Organize raw clips with ClipKit's Clip Organizer
Once you have a month's worth of footage, import everything into ClipKit. Don't organize by date; organize by mood. Use the Clip Organizer to tag clips with keywords like sunset, woodsmoke, calm, or energetic. Create distinct "sessions" for each week's theme. This creates a mental library you can draw from instantly while editing.
Step 3: Choose your template family and lock your brand kit
Select a template family that matches the week's theme (e.g., "Morning Clarity" or "Deep Rest"). Open your Brand Kit and ensure your primary colors and fonts are locked for this session. Consistency is key to building a recognizable wellness brand. Once set, you don't need to make aesthetic decisions for the rest of the month.
Step 4: Work through your queue in focused editing sprints
Set a timer for 45 minutes of work followed by 15 minutes of rest. During the work sprint, keep the clip organizer open on the side. Switching between clips should be seamless. If you find yourself distracted by the interface, remember that ClipKit is designed to get out of your way. Focus on the story, not the mechanics.
Step 5: Batch export with platform-specific presets
With all your videos edited, select the entire batch. ClipKit allows for one-click exporting. Choose the appropriate preset for each platform—1080p for Instagram, 4K for YouTube, or vertical formats for TikTok. This final step sends you off to the rest of your day with a huge weight lifted off your shoulders.